
Affiliate Disclaimer: This post may contain affiliate links. I may earn a commission if you purchase through these links, at no extra cost to you. You can read my full Affiliate Disclaimer here.
Dive into the refreshing world of Ninja Creami Frozen Yogurt easy and homemade with natural ingredients.
This delectable treat combines the creamy goodness of yogurt with the cool delight of ice cream, offering a healthier alternative without compromising on taste.
Perfect for those warm summer days or when you’re looking for a guilt-free dessert. Let’s embark on this frosty adventure together, and I promise, your taste buds will thank you!

Heavenly Homemade Ninja Creami Frozen Yogurt
Course: Dessert, Ice CreamCuisine: ItalianDifficulty: Easy4
servings30
minutes40
minutes300
kcalIngredients
2 cups of Greek yogurt (full fat for creaminess) 🥛
1/2 cup of honey or maple syrup (adjust to taste) 🍯
1 teaspoon of vanilla extract (for a hint of elegance) 🌺
Pinch of salt (to balance the sweetness) 🧂
Optional: 1/2 cup of your favorite mix-ins (berries, chocolate chips, nuts) 🍓🍫🥜
Directions
- Mix Ingredients: In a large bowl, combine the Greek yogurt, honey (or maple syrup), vanilla extract, and a pinch of salt. Stir until well combined and the honey is fully dissolved.
- Optional Mix-ins: If you’re feeling adventurous, fold in your favorite mix-ins like berries, chocolate chips, or nuts.
- Prepare for Freezing: Pour the mixture into a freezer-safe container. If your Ninja Creami requires the use of specific pint containers, make sure to transfer the mixture into one.
- Freeze Solid: Place the container in the freezer and let it freeze solid, ideally for 24 hours. Patience is key here for the perfect consistency!
- Creami Time: Insert the frozen block into your Ninja Creami. Select the ‘Frozen Yogurt’ setting and let the machine work its magic.
- Scrape and Spin: After the initial spin, remove the lid and scrape down the sides of the pint container. This ensures an even texture.
- Second Spin: Place the container back and run the Ninja Creami for a second spin if needed, to achieve that creamy perfection.
- Serve Immediately: Your homemade frozen yogurt is ready to be enjoyed! Serve it immediately for the best texture and flavor.
- Garnish and Enjoy: Feel free to garnish with extra toppings of your choice. Fresh fruits or a drizzle of honey work wonderfully.
- Store: If you have leftovers, you can store them in the freezer. Just give it a quick spin in the Ninja Creami before serving again to refresh the texture.
Notes
- This homemade frozen yogurt is not only delicious but also offers a healthier alternative to traditional ice cream. Rich in protein thanks to Greek yogurt, and with the option to control the sweetness, it’s a guilt-free pleasure. Remember, adding mix-ins or toppings will alter the nutritional content, so choose wisely based on your dietary preferences.
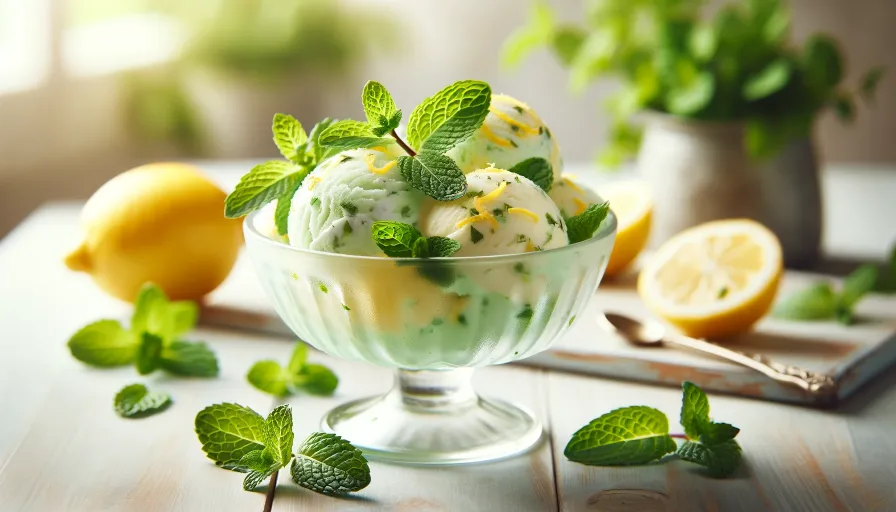
Serve your homemade frozen yogurt in a beautiful bowl, topped with fresh fruits or a sprinkle of granola for a delightful crunch. It’s a versatile dessert that pairs wonderfully with warm pies or can be enjoyed on its own for a refreshing treat.
The first time I attempted making frozen yogurt in my Ninja Creami, I was skeptical about the outcome. However, the results were astonishingly creamy and flavorful, surpassing my expectations. It’s become a summertime tradition in my household, and I hope it brings as much joy to your family as it has to mine.
I’d love to see your homemade frozen yogurt creations! Share your photos and any tasty variations you’ve tried in the comments below. Did you experiment with exotic fruits or perhaps a dash of cinnamon? Let the community know!