Affiliate Disclaimer: This post may contain affiliate links. I may earn a commission if you purchase through these links, at no extra cost to you. You can read my full Affiliate Disclaimer here.
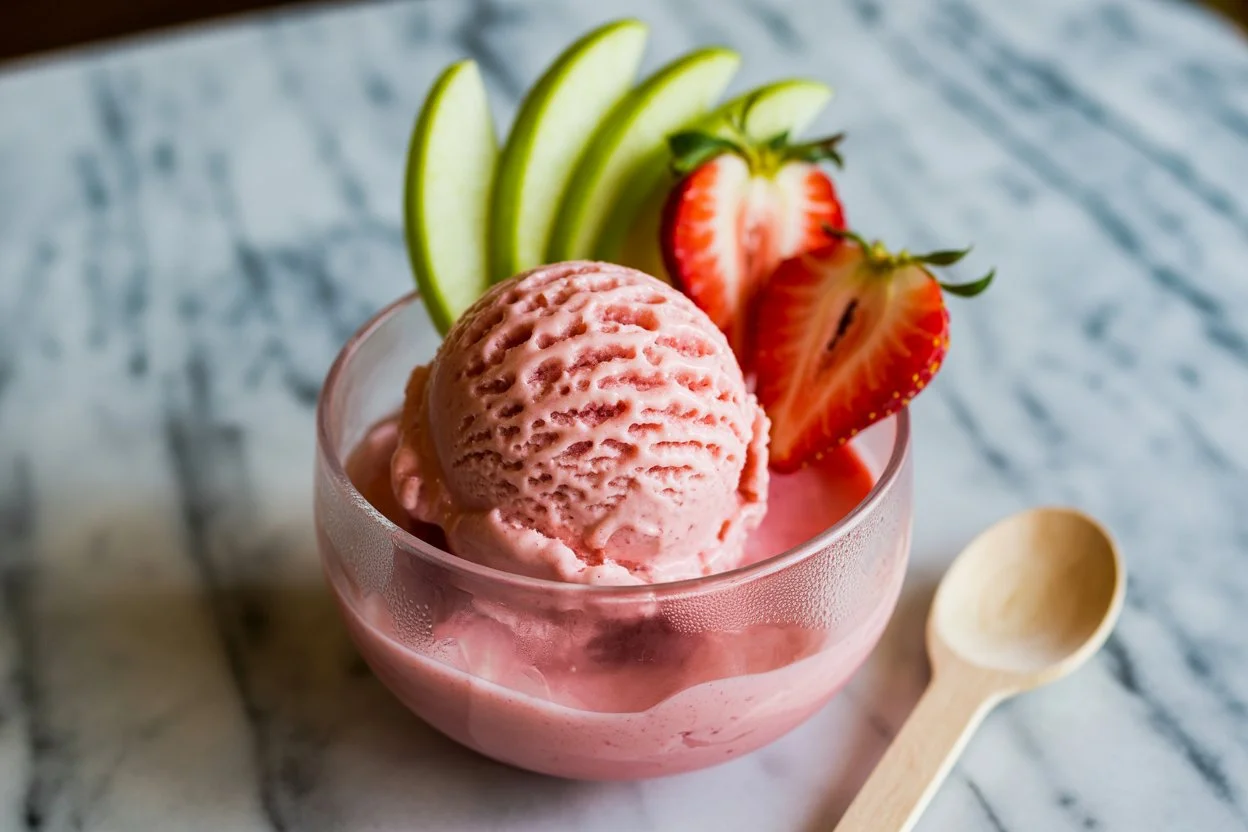
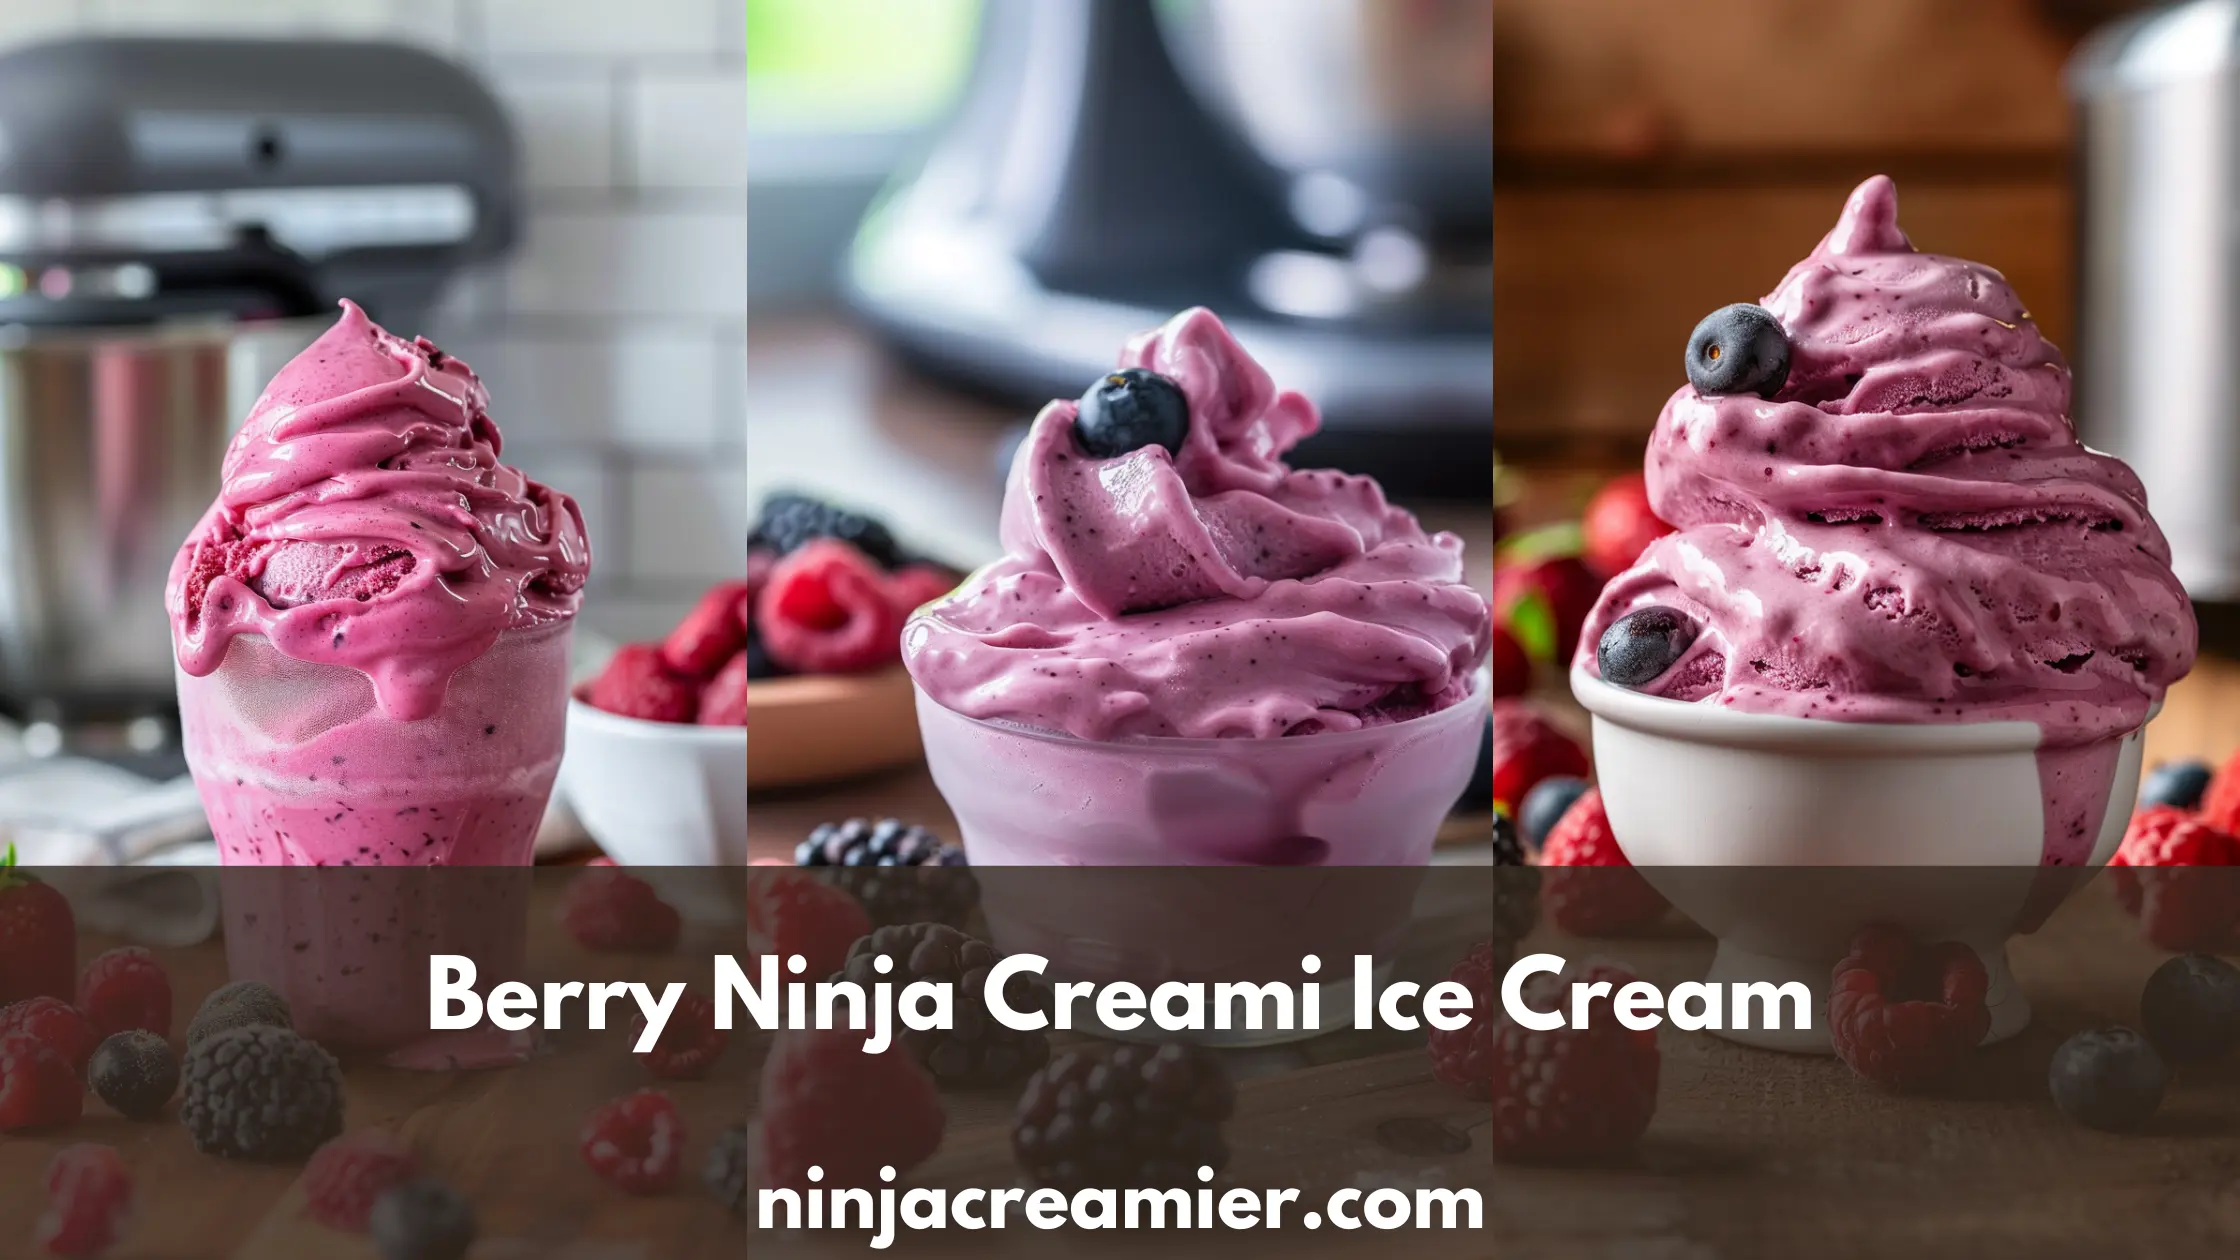
Tired of your Ninja Creami berry ice cream turning into an icy, rock-solid mess? This recipe solves that exact problem with one simple twist: fat-balanced berries. Whether you’re using strawberries, blueberries, raspberries, or a mix, the secret to perfect texture is blending fat, sugar, and berry water content the right way.
Imagine digging into a scoop of vibrant berry ice cream that’s lush, creamy, and never powdery—even straight from the freezer. This version works whether you use fresh or frozen berries, and it’s easy to adapt for high-protein, low sugar, or dairy-free diets. Let’s rescue your pint.
4
servings10
minutes3
minutes190
kcal24
HoursNinja Creami Berry Ice Cream details
Yield: 1 pint (2–3 servings)
Storage: Up to 1 month in freezer
Equipment: Ninja Creami, blender
Problems Solved: Icy texture, rock-hard pints, flavor dullness
Ingredients
🥛 Heavy Cream (1/2 cup / 120ml)
– Adds richness and prevents iciness with 35% fat.
Sub: Coconut cream for dairy-free
🥛 Whole Milk (3/4 cup / 180ml)
– Supports churning and smoothness.
Sub: Oat milk or almond milk for dairy-free (add stabilizer)
🍓 Mixed Berries (1/2 cup / 75g, fresh or frozen)
– Brings real fruit flavor.
Tip: Microwave frozen berries for 30 seconds to reduce iciness
🍯 Sugar or Allulose (2.5 tbsp / 30g)
– Lowers freezing point = creamier texture.
Sub: Erythritol blend (texture may be icier)
🧂 Cream Cheese (1 tbsp / 15g, room temp)
– Prevents ice crystals. Essential for smooth texture.
Sub: Dairy-free cream cheese or omit if using xanthan gum
🧪 Vanilla Extract (1 tsp)
– Enhances berry flavor
🧬 Optional: Xanthan Gum (1/8 tsp)
– Advanced stabilizer = ultra-smooth texture
Use only if omitting cream cheese
Directions
- Blend Base Until Smooth – Combine everything in a blender for 60 seconds to ensure the berries and cream cheese emulsify fully; skipping this makes the base gritty.
- Pour into Ninja Pint Container – Fill to the max fill line, leaving ½ inch space at the top to prevent overflow.
- Freeze Level & Flat (24 Hours) – Place the container on a flat surface to ensure even freezing, which leads to consistent texture during spinning.
- Spin on ICE CREAM Setting – Use the Ice Cream mode (not Gelato) for more aggressive processing that’s ideal for frozen berries.
- Check Texture After First Spin – If it’s powdery, add 1–2 tbsp milk and re-spin; if it’s icy, add 1 tbsp cream and re-spin.
- Re-Spin 1–2 Times as Needed – Frozen berries often need more processing; look for a smooth surface with a light swirl when done.
- Adjust Sweetness or Creaminess – Optionally, mix in 1–2 tsp maple syrup or 1 tbsp Greek yogurt using the MIX-IN setting for balance.
- Scoop or Store – Serve right away or refreeze the pint with a smooth top; letting it temper for 1 hour improves texture.
- For Dairy-Free Versions – Add 1/8 tsp xanthan gum to oat milk bases or use coconut milk for rich, creamy results.
- For Low Sugar Versions – Swap sugar for allulose or monk fruit blend, but avoid erythritol-only sweeteners as they cause iciness.
Notes
- 👨🍳 Chef’s Note – Berry Water Content Matters
Berries are sneaky—they contain tons of water that turns into ice if not balanced with enough fat or stabilizer. That’s why cream cheese (or xanthan gum) is essential here. If your base looks too thin after blending, add 1 extra tablespoon of cream for insurance. - 👨🍳 Chef’s Note – Frozen vs. Fresh Berries
Frozen berries are convenient, but always microwave them for 30 seconds and drain excess liquid before blending. It prevents icy pockets and preserves flavor. Using fresh? Taste them first—if they’re tart, bump up the sugar by 1 teaspoon. - 👨🍳 Chef’s Note – Texture Test Trick
After the first spin, I always gently press a spoon into the surface. If it collapses into powder or flakes, it’s not ready—add a splash of milk and re-spin. If it holds a soft scoop and has a creamy swirl, it’s perfect.
🎯 Ninja Creami Mastery
Recommended Setting: Ice Cream (never Gelato)
Powdery?
→ Add 1–2 tbsp milk + Re-spin
→ Still dry? Check freezer (-5°F to 0°F ideal)
→ Still off? Use more fat next time
🧠 Problem-Solving Lab
Too Icy?
→ Add more heavy cream or cream cheese
→ Use xanthan gum (1/8 tsp)
Too Hard?
→ Let sit 10 mins, then Re-spin
→ Use more sugar or allulose next time
Too Soft?
→ Re-freeze 3 hours, then Re-spin
→ Reduce added fruit or liquid in next batch
batch
🔬 Scientific Foundation
Fat Formula:
(120ml × 0.35) + (180ml × 0.035) ÷ 300ml = ~15% fat (ideal)
Stabilizers:
• Beginner: Cream cheese
• Advanced: Xanthan gum or 2g guar gum
🍴 Nutrition (per 1/3 pint serving)
Calories: ~190
Fat: 14g
Sugar: 7g (adjustable)
Protein: 2g
🍓 Serving Suggestions & Seasonal Twists
- Top with granola and lemon zest
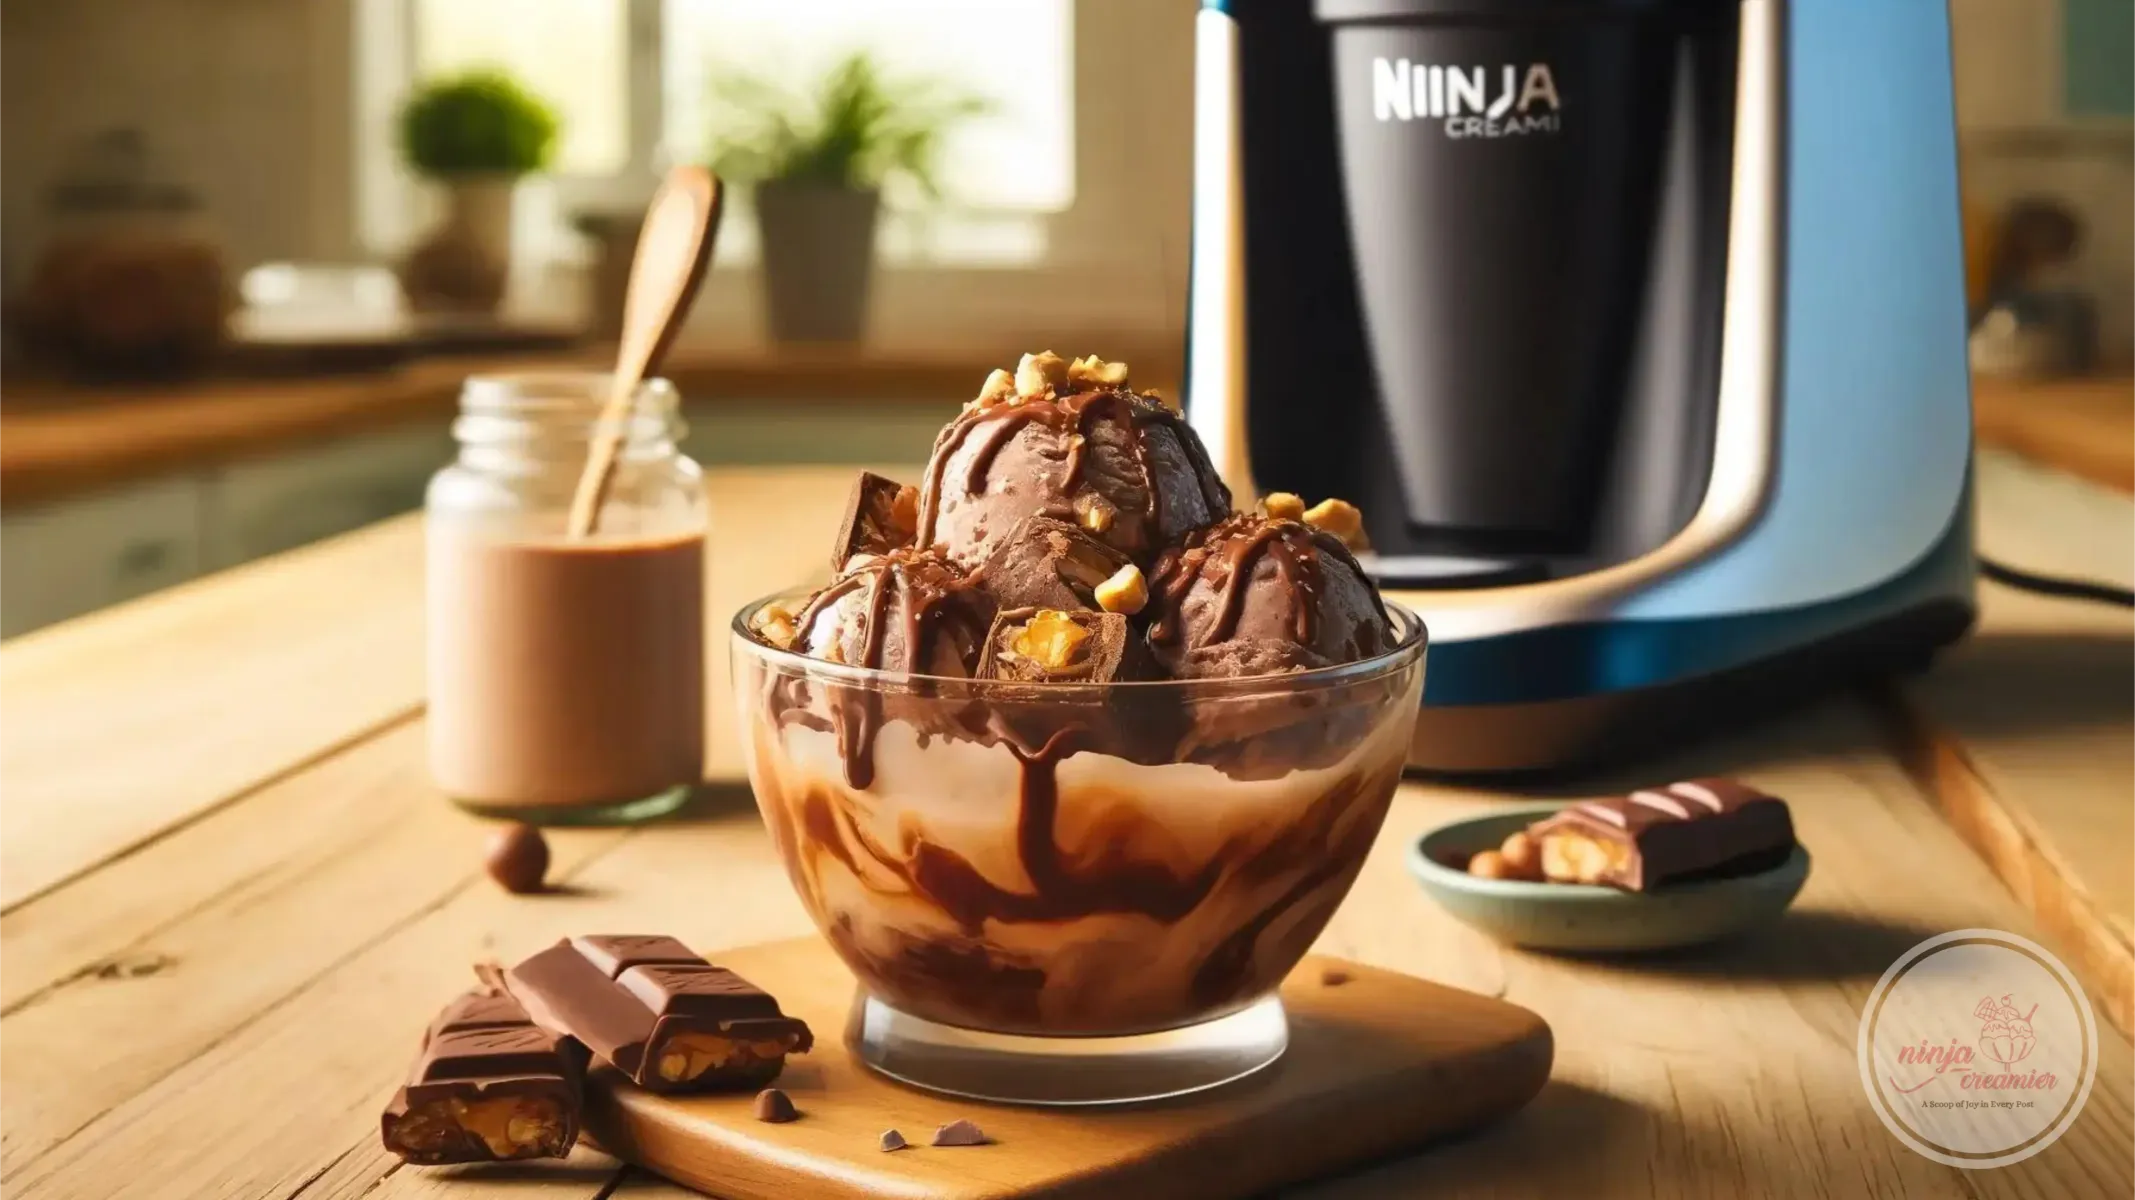
- Fold in crushed meringue or dark chocolate chips
- Summer tip: Macerate fresh berries in sugar 10 min before blending for richer flavor
One summer, I tried to impress guests with a fresh Ninja Creami berry ice cream creation—and ended up serving pink-flavored ice gravel. Sound familiar? The berries had too much water and not enough fat to create a creamy texture. After weeks of trial and error (and way too many powdery scoops), I cracked the code: a precise balance of cream, sugar, and emulsifiers.
Now this berry version gets raves every time—rich, vibrant, and totally scoopable straight from the freezer. Whether you’re using farmers market berries or frozen blends from Costco, this recipe works. Every. Single. Time.